HTTP to HTTPS – Deploy SSL for Free Using Cloudflare
How to Convert HTTP to HTTPS for Free Using Cloudflare
Since Google has announced a policy to preferential treatment of HTTPS-compliant sites ranking, it seems that websites are constantly making SSL/TLS advancing at a tremendous speed. Now SSL/TLS, which had been charged, services that are now issuing free SSL/TLS certificates such as CloudFlare, Amazon Certificate Manager and Let’s encrypt.
CloudFlare is a CDN (Content Delivery Network) that uses the concept of a reverse proxy. Therefore, you need a name server to install CloudFlare. CloudFlare’s account creation itself is free, but in order to actually use CDN, you need a domain that you own and a name server (DNS) that you can change the reference destination freely. This is because CloudFlare is a CDN using a mechanism called a reverse proxy.
How Cloudflare works
CloudFlare improves the security and response of the Web server by managing the name server of the domain of the target Web server. CloudFlare is provided by manipulating name server, not direct method ‘nameserver’.
Three Types of Requests from Cloudflare to the Server
Flexible – It is used only when SSL /TLS is not applied on the server side. Most of those who are planning to use Cloudflare’s SSL will use this method.

Full – Between users and Cloudflare, as well as the way to communicate with the server with HTTPS. The validity of the certificate used on the server side is irrelevant. It can be an olele certificate. Since it can be an olele certificate, it is totally secure from Flexible if you can set the certificate on the server side. It is double encryption.

Full (Strict) – Like Full, users, Cloudflare and servers are HTTPS communications. However, it differs in that the certificate used on the server side must be valid. Personally, it may be better to turn it off if a valid certificate is available on the server side. Because it encrypts double, it sounds somewhat to the performance.

How to set up a website on Cloudflare infrastructure and how to get on HTTPS for free
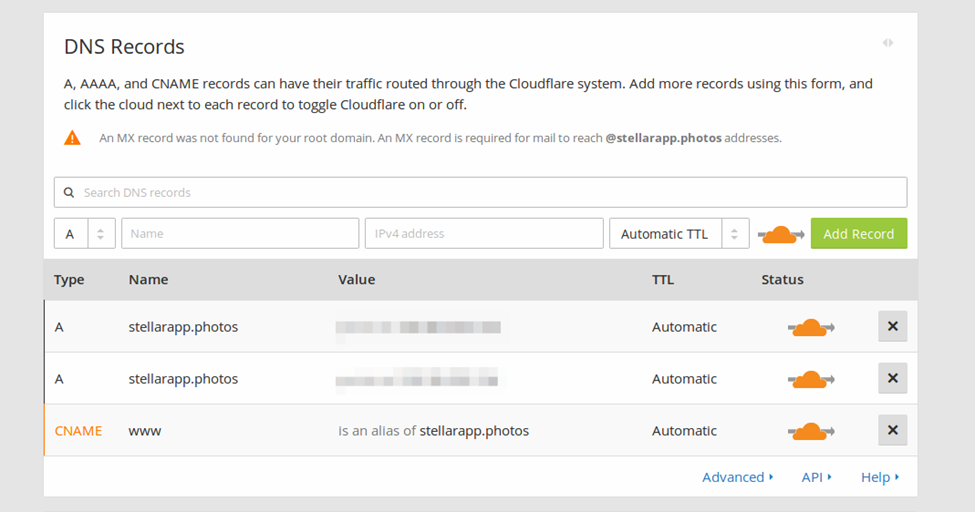
Step 1 – Setting Up a New Site – After you sign up at Cloudflare, the first thing to do is to add a domain and scan the DNS records.

Step 2 – Once the scan is completed, all the DNS records on the domain will be displayed. One can make modification and select the sub-domains to enable Cloudflare on.
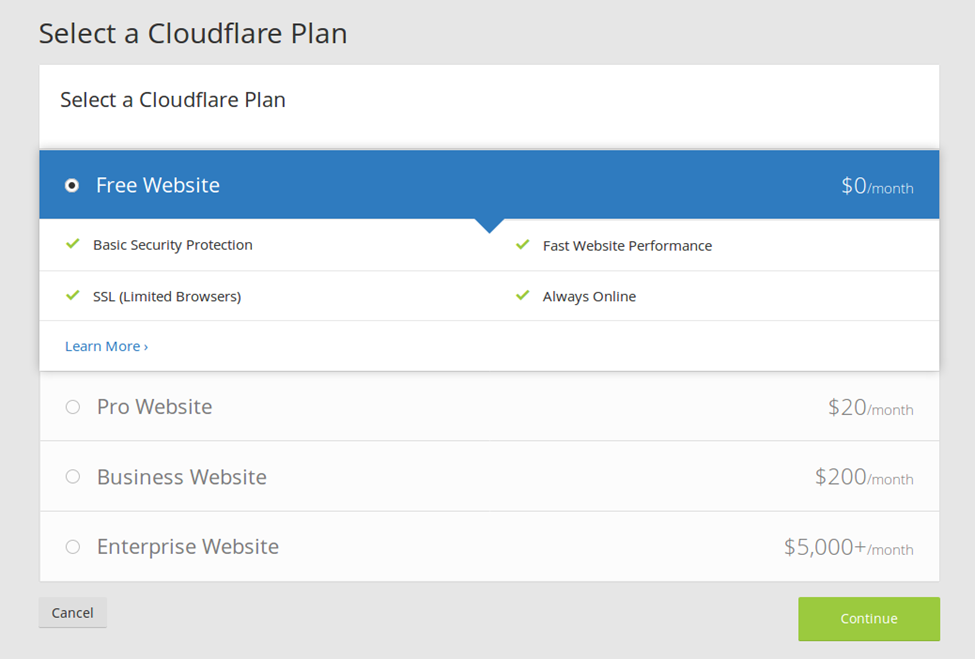
Step 3 – Select the free plan and continue.
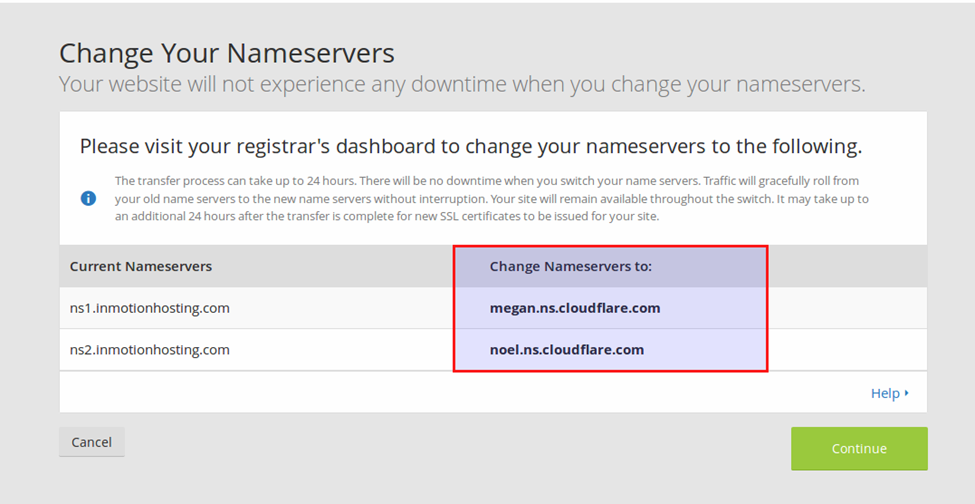
Step 4 – Next, you’ll need to change the nameservers on your domain registrar to the Cloudflare provided ones.
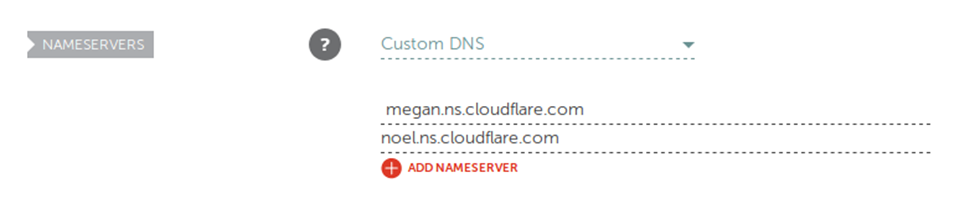
Here’s how it looks like in Namecheap:
Step 5 – Now you must wait for the nameserver changes to finish propagating. To check whether your site is active on Cloudflare ‘Click on Recheck Nameservers’.
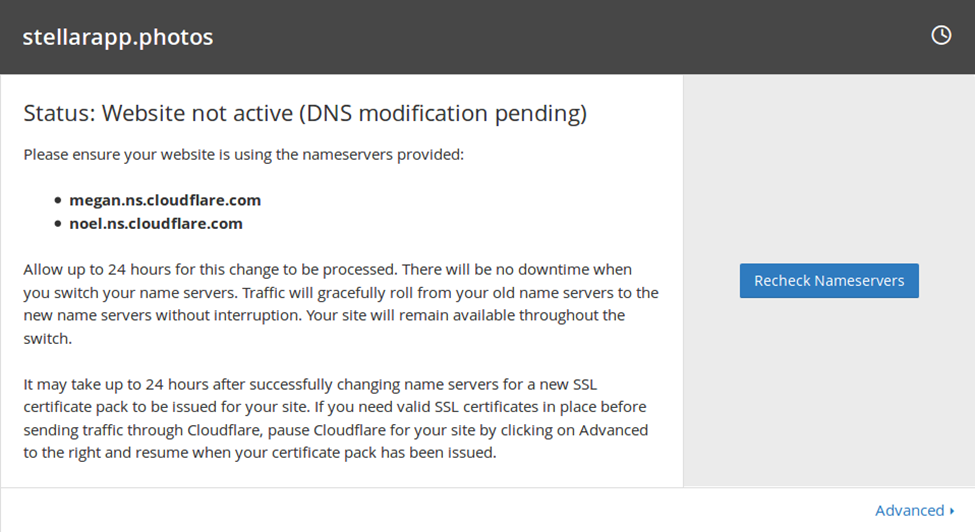
Step 6 – Once your nameserver updates have been validated by Cloudflare, your site becomes active on the service.

Step 7 – If you want to be absolutely sure that your DNS settings have propagated everywhere, what’s My DNS provides a way to check what IP address your domain resolves to in different locations. One can also use dig or nslookup in the command line to verify your domains DNS configuration.
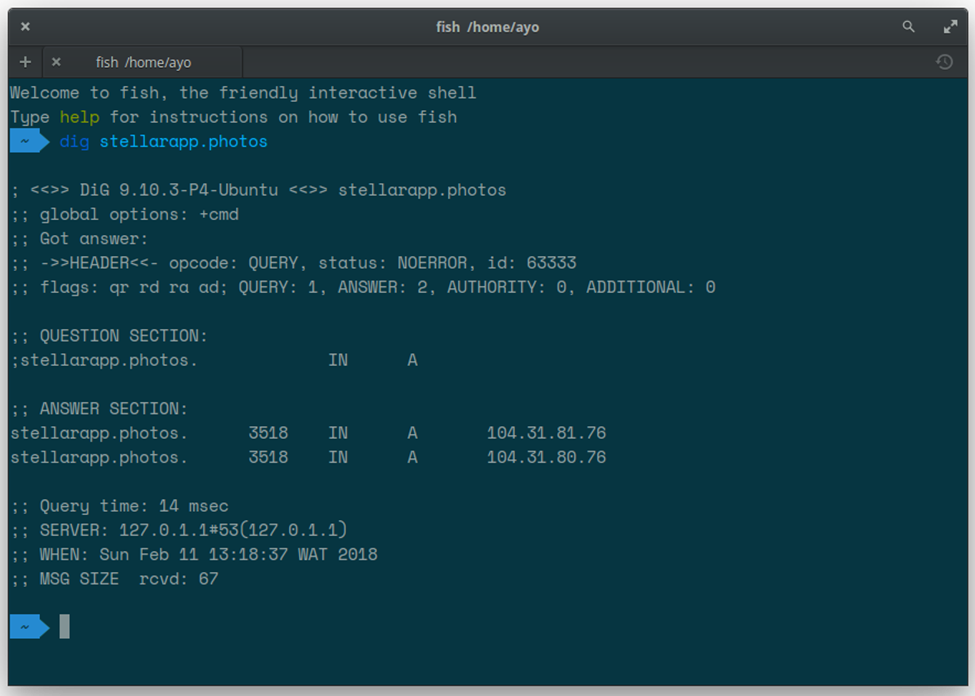
By this, you check that whether the website traffic is now being routed through Cloudflare. Prior configuring Cloudfare one should keep in mind that the browser is not using the old DNS records from its cache.
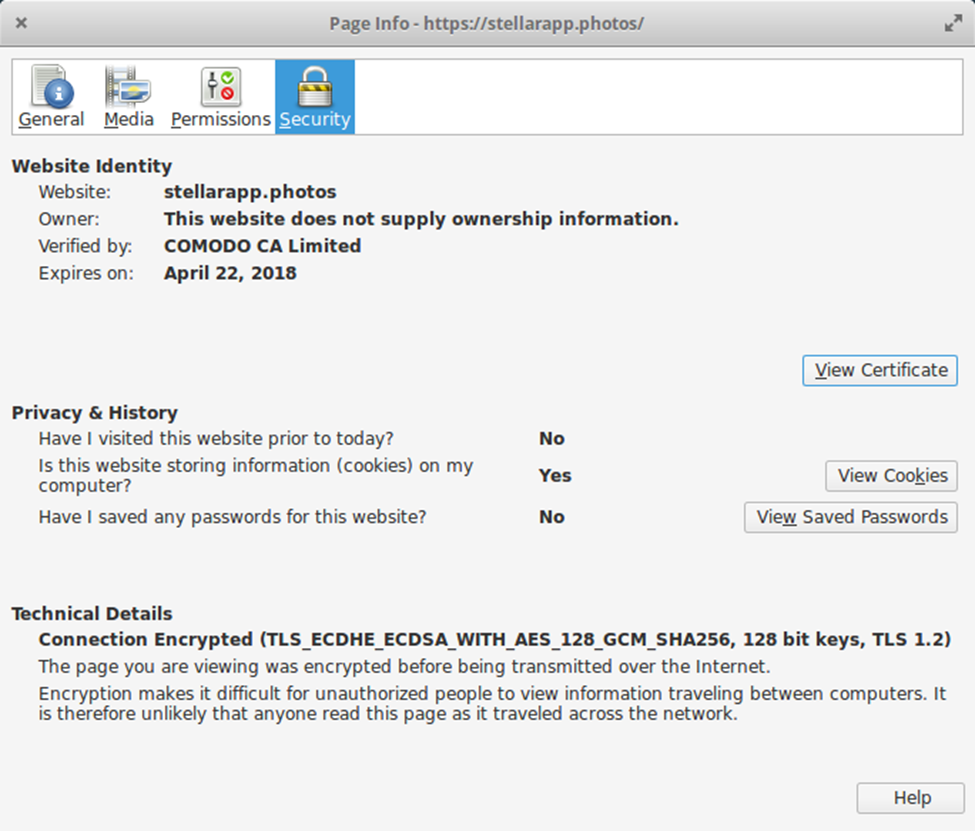
To be activated it may take up to 24 hours, and once the certificate is activated load it in your browser.
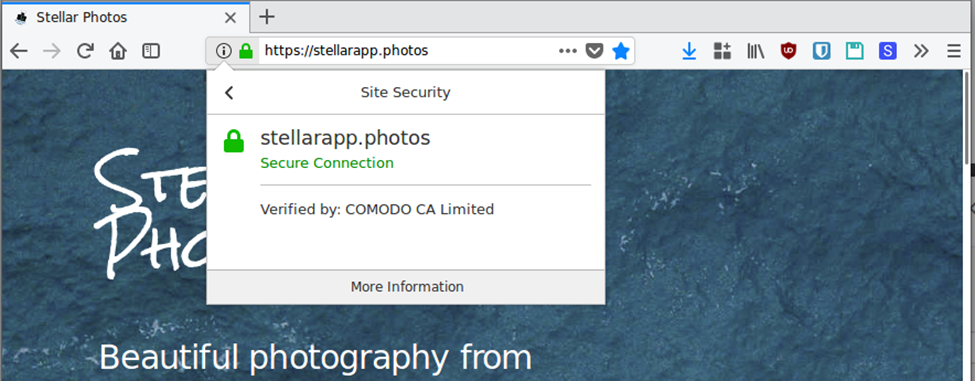
Cloudflare renews the certificate automatically. If you want to get more information about the certificate One can go and check Certificate Authority that issued it and the expire date.