
Learn to Setup Custom Domain in Blogger through GoDaddy
Merit Obtained By Registering a Domain
The unique domain is an indispensable part as part of the site. The process of registering a domain is easy, relatively inexpensive, and anyone can easily possess it.
- Form part of corporate identity
- Provide expertise
- Visitors make websites easier to remember
- Make new mail account creation possible
- Optimize the website with a search engine (SEO friendly)
What is Domain?
As mentioned earlier, domain is like an address on the Internet. Every website is assigned a unique domain, not two of the same domain in the world. These factors provide easy and effective communication with customers, suppliers, and partners.
Advantages of Domain
- Become an asset
- Keywords in the domain name are one of the ranking elements
- Avoid unnecessary SEO risk
Setup Custom Domain on Blogger with Godaddy.com
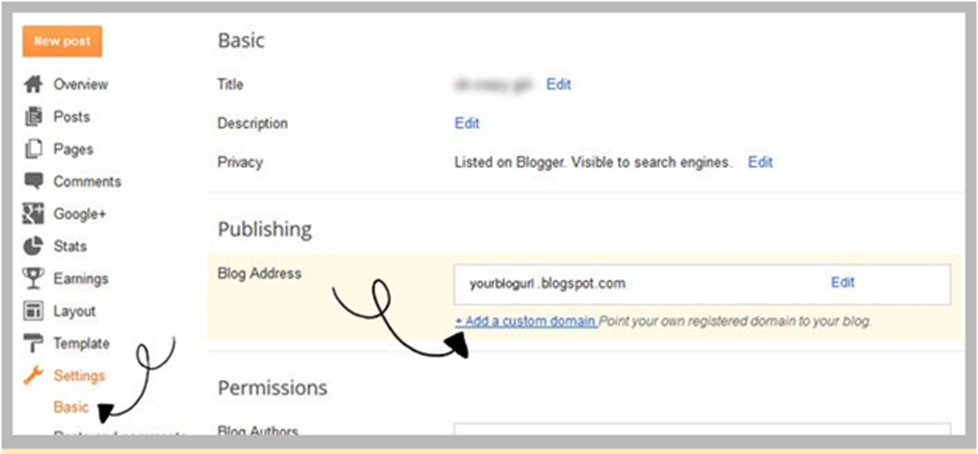
Step 1 – Go to Settings and Select Basic and click the “Add A Custom Domain” link under your Blog Address.
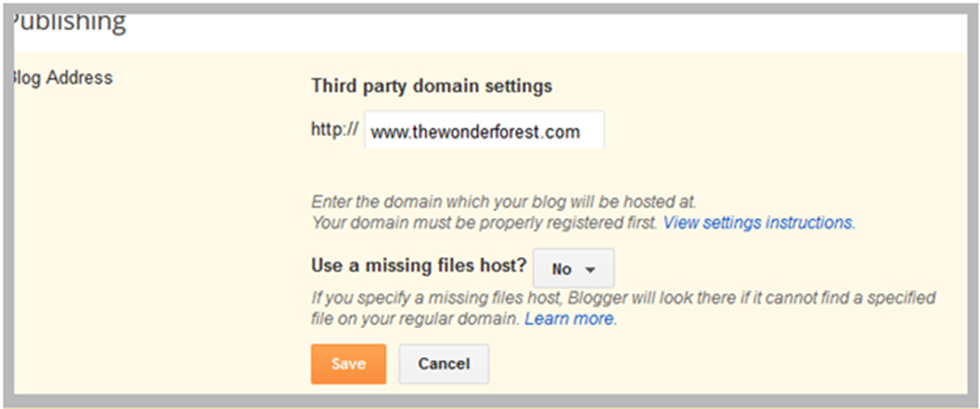
Step 2 – Enter your webiste-domain name you’ve registered including the “WWW” and “Click Save”. You’ll see a red error and important information, this is normal.
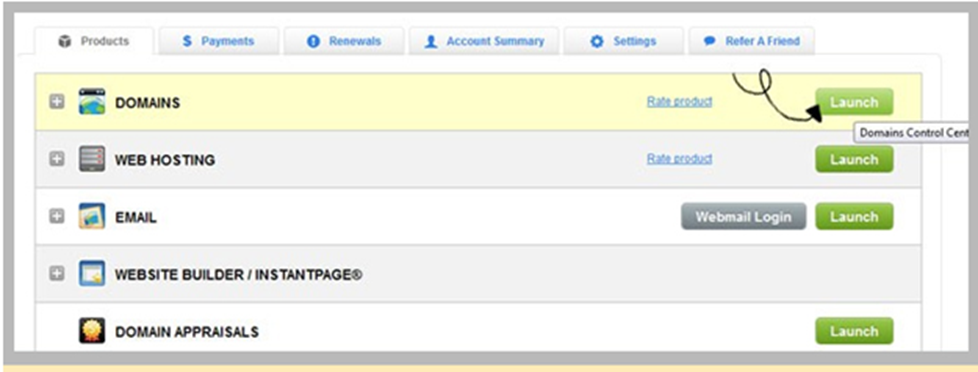
Step 3 – Login to your GoDaddy account and click launch beside Domains.
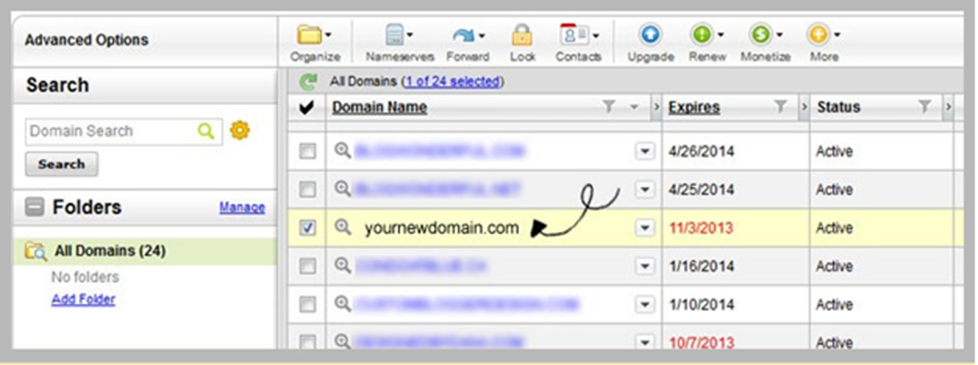
Step 4 – Click on the domain you want to use open up its settings.
Step 5 – Click on DNS Zone file tab at the top. Now switch back to your blogger-domain setup page again.
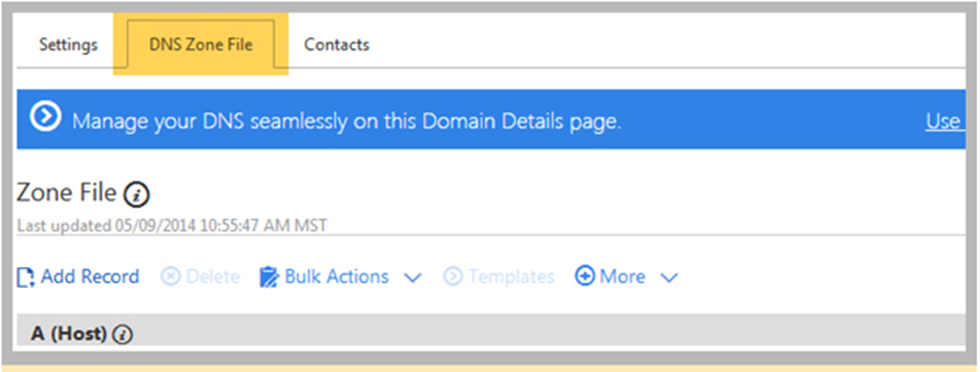
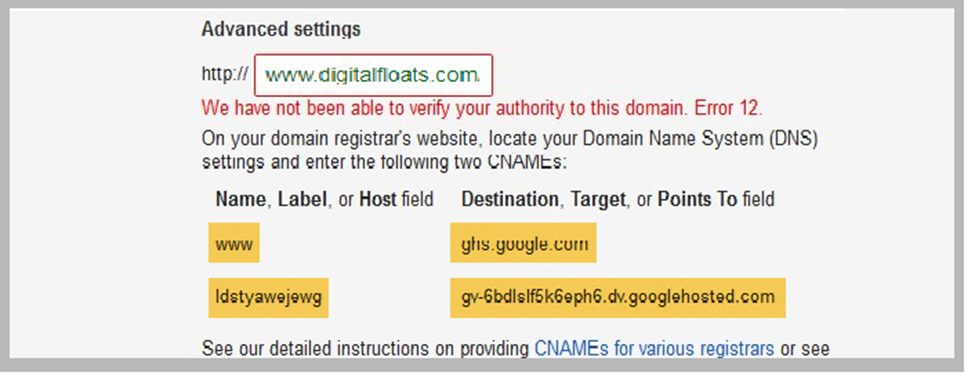
The highlighted information is what you want to enter into GoDaddy in the next steps. This information will be unique to you, so don’t use these ones.
If CNAME Error and details are shown as above please move with the next step. But in case it’s different than you can try the below method
- Click on this link – https://www.google.com/webmasters/verification/home?hl=en&pli=1
- A right of your custom URL click on verification details
- On the top of the page Click on CNAME
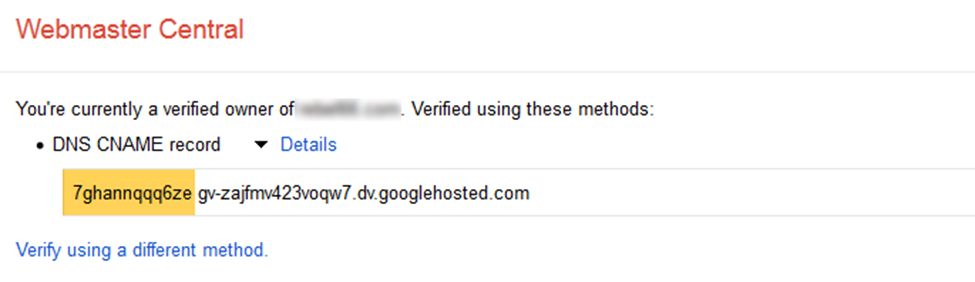
The yellow highlighted box is “Host” and gv- is “Points To”
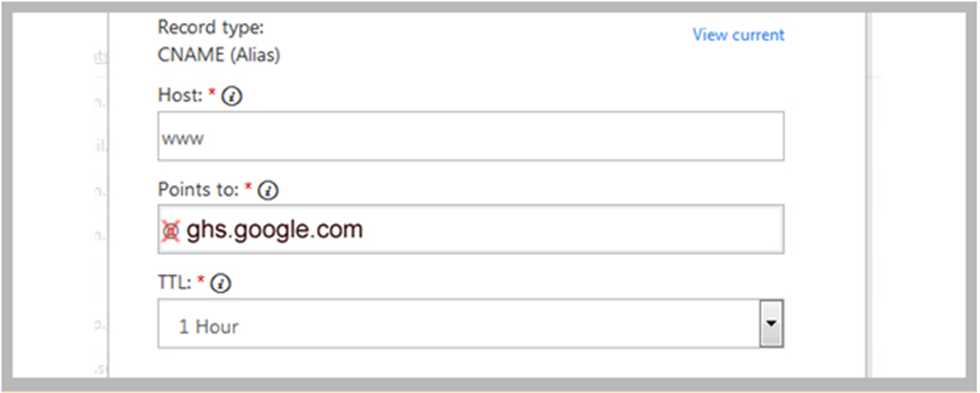
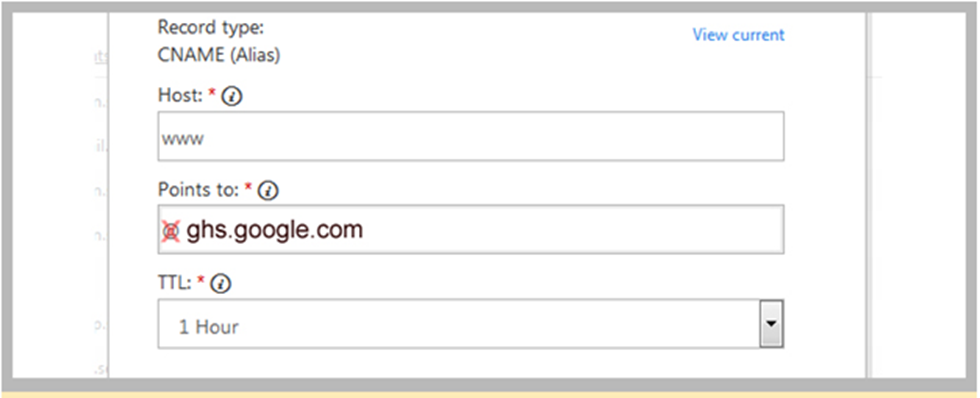
Step 6 – Now Go to GoDaddy and under CName table, click the edit icon beside “www”.
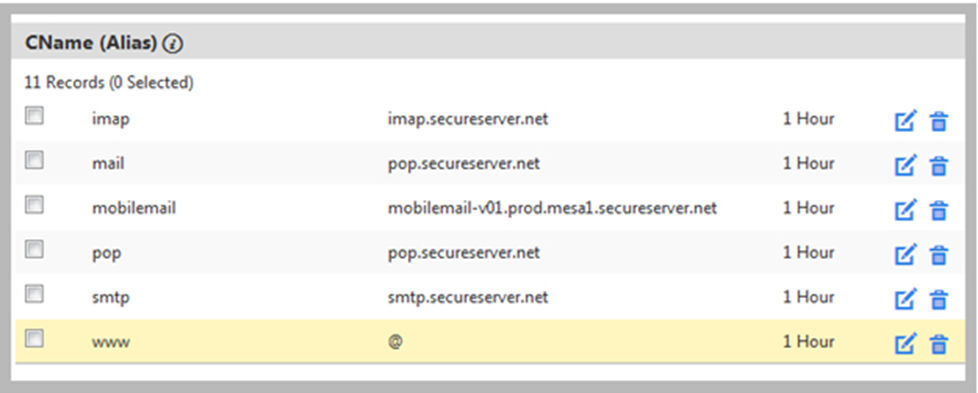
Step 7 – Delete the @ and replace with “ghs.google.com” and Click Finish.
Step 8 – Click on Add Record at the top and from the list choose CNAME (Alias)
Step 9 – Enter the information from your Blogger setting page here, or from the Webmaster Central Tool. The points to name should start with “gv-“.
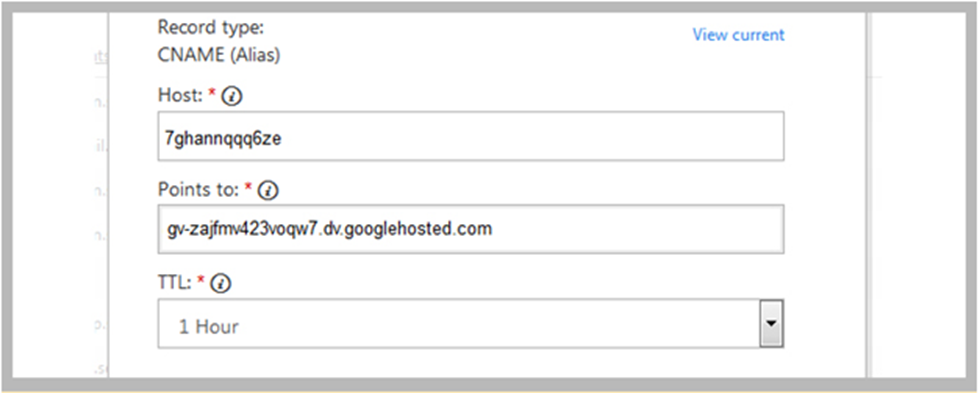
Please remember the codes generated with being different for every user. Please copy the code generated by your Blogger.
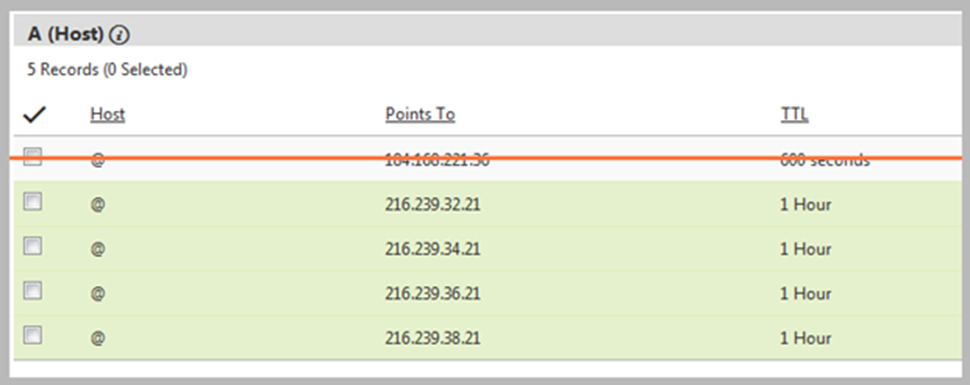
Step 10 – In this step, we will be adding “A Records” to prevent 404 error. Select Add Record again. Choose A (Host) from the list.
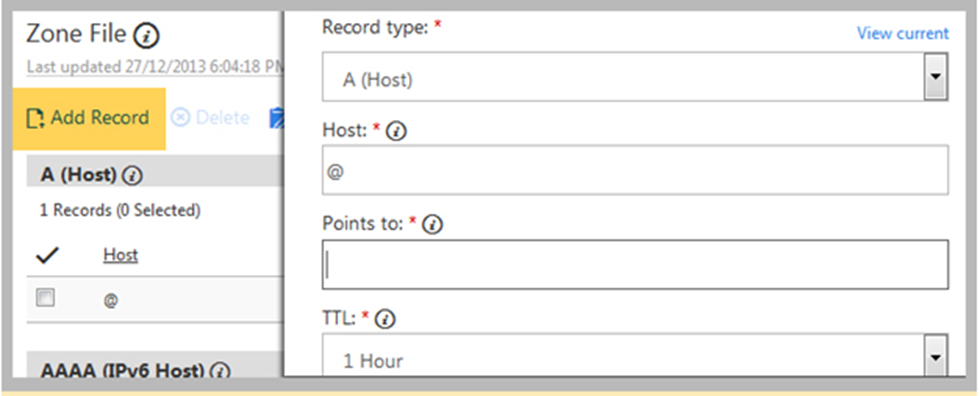
Step 11 – Enter @ and first Google IP in the Host and Points To box respectively.
216.239.32.21
Please save it and then perform the similar thing three more times, adding these IP addresses:
216.239.34.21
216.239.36.21
216.239.38.21
Delete the original host as you don’t need it anymore. Save all changes.
Step 12 – Now go back into Blogger and try to save the settings again. This could take from 24-28 hours from the DNS to change. If you are getting an error please don’t stop and keep trying.
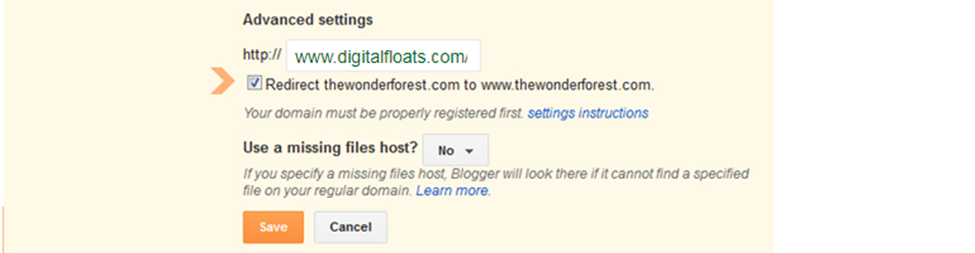
Once the URL workings, on setting page click on Edit link beside your domain name page and tick on the above checkbox.
Conclusion
As we have seen, domain leads to building assets and it has SEO benefits as well. If you do business on the Internet on your own, you may be trusted by a domain name. If you want to do business as an original site, not mall participation, you can say that acquiring your own domain is essential.